Getting Started#
This guide walks through setting up BitstreamEvolution and running your first experiment.
Prerequisites#
Software:
Python 3.11 or later
Poetry package manager
IceStorm toolchain (
icepack,iceprog)
Hardware:
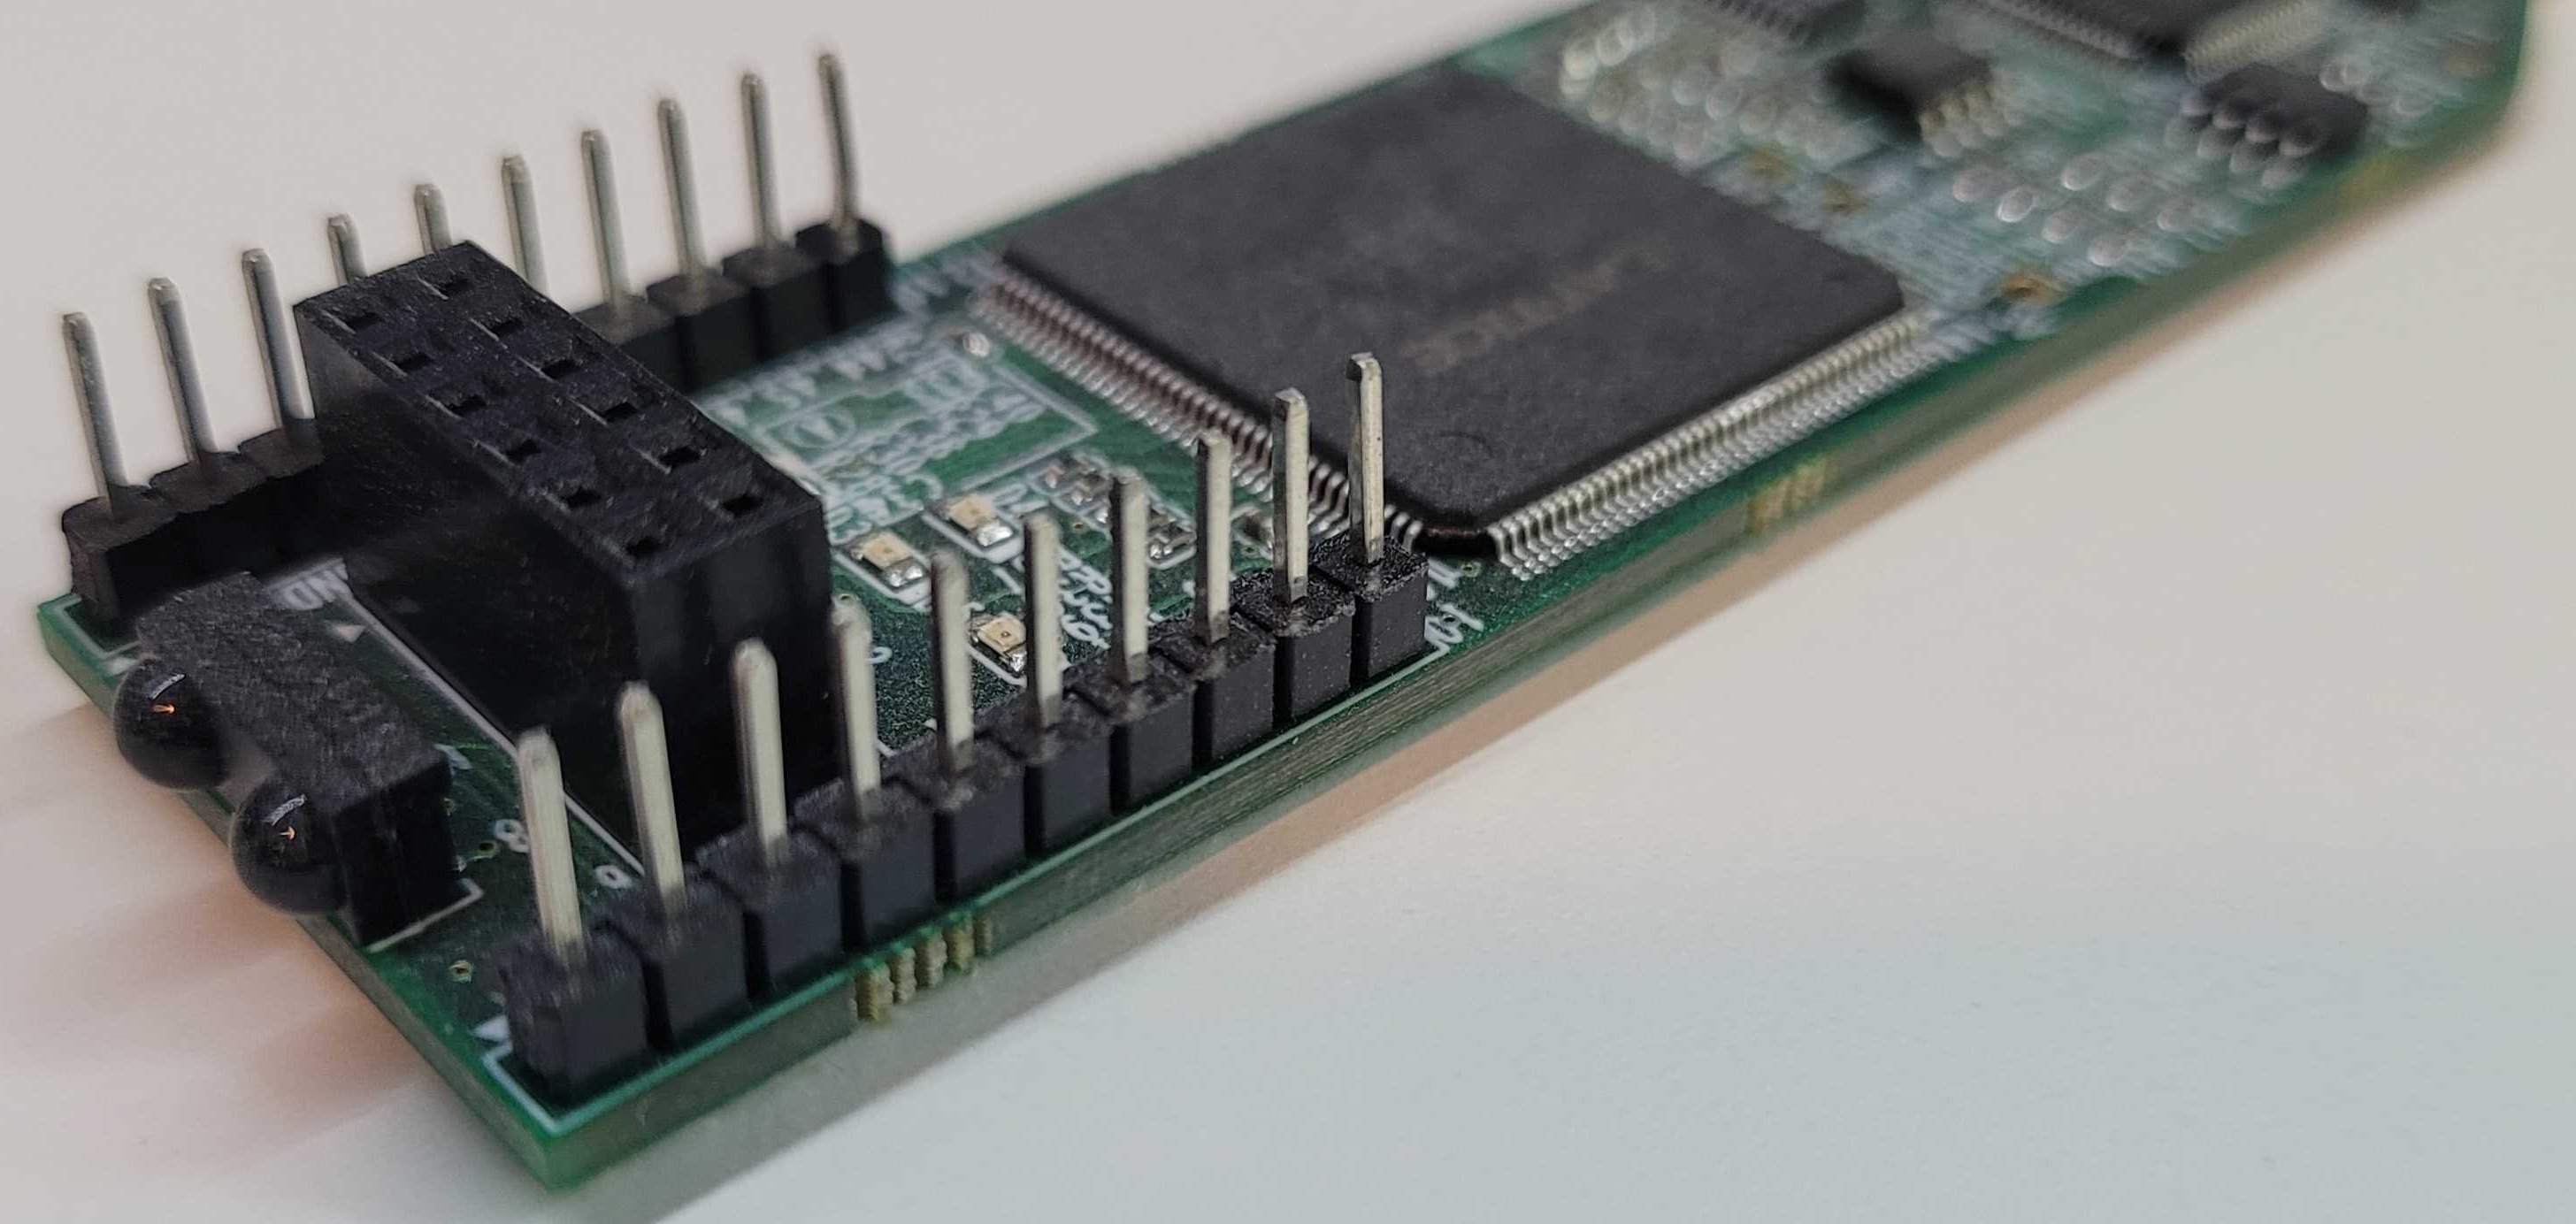
ICE40 HX1K FPGA development board
Microcontroller with serial interface (for fitness measurement)
USB connection between host, MCU, and FPGA
Installation#
Clone the repository and install dependencies:
git clone https://github.com/evolvablehardware/BitstreamEvolution.git
cd BitstreamEvolution
poetry install
To include development tools (documentation, testing, linting):
poetry install --with dev
Running Tests#
Verify the installation by running the test suite:
# Run fast tests only (< 10 seconds)
poetry run pytest

# Run fast and medium tests
poetry run pytest -m "immediate or short"
See pytest --markers for all available test timing markers.
Project Architecture#
BitstreamEvolution uses a protocol-based architecture. All major components
are defined as Python Protocol classes in
BitstreamEvolutionProtocols.py, allowing implementations to be
swapped freely.
The main abstractions are:
Individual — The genome being evolved (e.g. a boolean bitstream)
Circuit — An FPGA configuration compiled from an Individual
Population — A collection of Individuals with optional fitness values
Hardware — Async interface to the physical FPGA via serial
FitnessEvaluator — Strategy for computing fitness from measurements
Reproducer — Selection and mutation to create the next generation
Running an Experiment#
The simplest way to understand the system is through the TrivialImplementation.py, a self-contained example that evolves integer-valued circuits without real hardware:
from TrivialImplementation import (
    TrivialEvolution,
    TrivialGenerateInitialPopulation,
    TrivialReproduceWithMutation,
)
from BitstreamEvolutionProtocols import GenDataIncrementer
import random

rand = random.Random(42)

evolution = TrivialEvolution(
    generation_data_factory=GenDataIncrementer(max_gen_num=100),
    reproducer=lambda pop: TrivialReproduceWithMutation(pop, rand),
    generate_intial_population=lambda: TrivialGenerateInitialPopulation(
        population_size=20, random=rand, min_fitness=0, max_fitness=50
    ),
)
evolution.run()
For real hardware experiments, you would replace the trivial implementations
with concrete classes like FileBasedCircuit,
Microcontroller, and a fitness evaluator
such as EvalPulseCountFitness.
Interpreting Results#
During an experiment, data is written to the workspace/ directory:
alllivedata.log— Per-individual fitness each generationbestlivedata.log— Best/worst/average fitness per generationwaveformlivedata.log— Most recent waveform captureheatmaplivedata.log— Best waveform per generation (for heatmaps)violinlivedata.log— Full fitness distribution per generation
The PlotEvolutionLive.py module reads these files and produces real-time matplotlib plots during evolution.
After an experiment, use save_workspace() to archive
the workspace to a timestamped directory.
Next Steps#
Bitstream Evolution’s Architecture — System design and architectural proposals
API Reference — Full API reference for all modules
Development Information — How to build the documentation locally