Hardware Setup
Bitstream Evolution v2 — pico2-ice
Before ordering any parts, please note that the current Bitstream Evolution toolchain supports Linux and macOS host machines. The hardware is handled through the iCEFARM system, which is designed to manage multiple pico2-ice boards in parallel, but can also handle single-board setups without issue.
Bill of Materials
| Item | Approx. Cost | Where to Purchase |
|---|---|---|
| pico2-ice Development Board | ~$50 | pico2-ice.tinyvision.ai |
| USB-C Cable (for programming) | ~$10 | Amazon - 6 inch Short Fast Charging Cord, 5 Pack Durable USB A to USB Type C |
| USB-C Hub (optional, for multiple boards) | ~$47.49 | Amazon - SABRENT 10-Port 60W USB 3.0 Hub |
Total hardware cost: roughly $50 for 1 device. For 20 a device array ~ $1,150.
Assembly Steps
pico2-ice Setup
Use the Provided Cables
If you use a bad cable, the boards may not connect properly when following the instructions here: Programming the MCU
FAQ
The board does not enter bootloader mode (BT to GND or SW1)
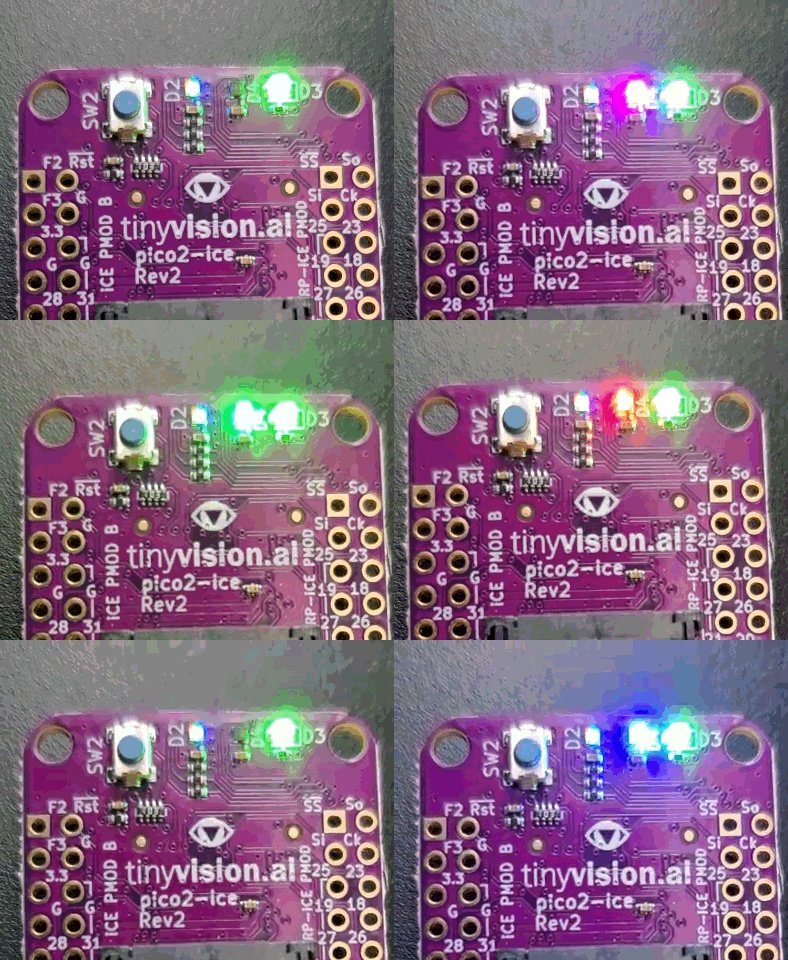
By default, if you do not hold down the SW1 button or connect BT to GND when plugging in the USB cable, the board loads the default firmware which looks like this:
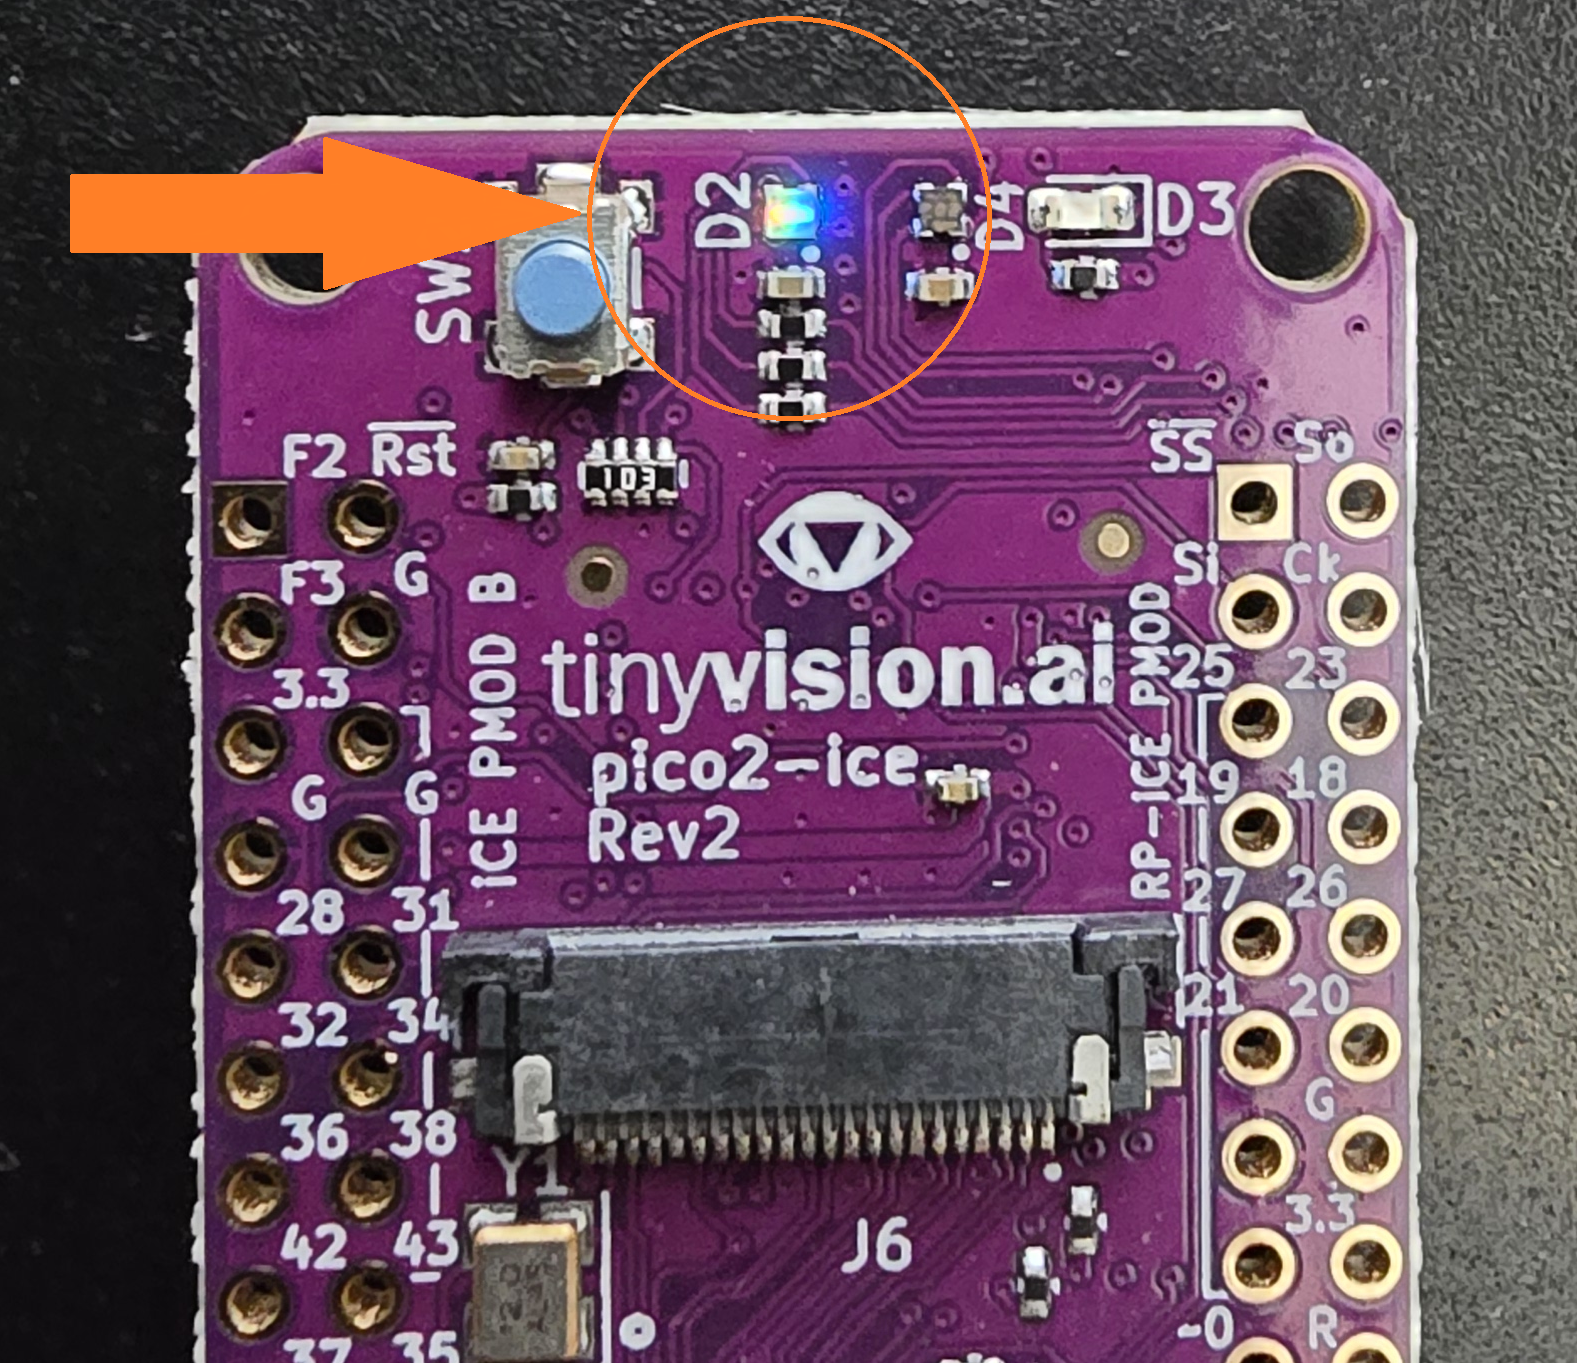
To enter the bootloader mode, you need to either hold down the SW1 button or connect BT to GND when plugging in the USB cable. The board will then enter bootloader mode which looks like this:
Below is a video showing the process of entering bootloader mode by holding down the SW1 button while plugging in the USB cable:
iCEFARM: FPGA Array Resource Manager
We have a special job distributor for the pico2-ice boards. The software was developed by Jackson Heil and can be found here:
You will want to add your pico2-ice boards in bootloader mode as described above.